Organize your wardrobe by category to save time and stress. This simple method reduces decision fatigue, helps you see what you actually wear, and keeps your closet tidy without perfection.
Quick Wardrobe Organization: The Category Method That Actually Works
You’re rushing in the morning, yanking hangers, tossing aside a sweater, a scarf falls, and you end up picking the same pair of “backup” jeans. It’s not laziness or lack of taste. It’s a system that doesn’t support you: clothes are mixed by “wherever they fit” instead of how you actually use them.
If you want organization that genuinely lasts, wardrobe organization by the category method is one of the simplest solutions. It doesn’t require expensive containers or an entire day. It needs a simple logic you can repeat, so that in two weeks, your wardrobe still looks “as good as day one.”
Why the category method works (and what it won’t do)
The category method reduces decisions. When all your t-shirts are together, you don’t hunt in three places or dig through stacks to find one. Plus, you quickly see what you have in excess and what you’re missing. Often, you buy another white shirt simply because you can’t find the one you already own.
However, the method doesn’t solve two things without your help. A very small wardrobe stays small, and if you keep clothes that don’t fit or don’t appeal to you, the category becomes just a tidier pile. This is where the practical part comes in: how you sort and where you place each category.
Prep work: 15 minutes that save you an hour
Before you pull everything onto the bed, prepare three clear zones: “keep and wear,” “give away/sell,” “repair.” If you don’t have space, use three large bags. The idea is not to create a fourth zone, the most dangerous one: “leave it here and deal with it later.”
Then choose a simple rule for decisions. For example: if you haven’t worn a piece in the last year and it’s not for special occasions (wedding dress, heavy coat), it goes to “give away.” If you’re in a weight transition, keep only a small “in-progress size” group, not three full drawers.
Wardrobe organization: the category method, step by step
The key is to work with large groups, then refine them only as much as makes sense for your lifestyle.
Step 1: Pull out, group, count
You don’t need to empty the entire wardrobe if chaos frightens you. You can start with one zone (for example, the hanging rail). What matters is that each piece ends up in a category.
Basic groups that work in almost any wardrobe: t-shirts, blouses, shirts, pants, skirts, dresses, sweaters, hoodies, jackets, pajamas, activewear, underwear, socks, accessories, shoes (if you keep them in the wardrobe).
Count quickly how many you have in each. Not for perfectionism, but for clarity. If you have 18 sweaters and constantly wear 5, that’s a simple signal.
Step 2: Choose the “star category” for hangers
Hanger space is the most valuable real estate. Don’t fill it with things that fold well. Generally, worth hanging: dresses, shirts, jackets, coats, pants that wrinkle easily.
Here’s where “it depends” comes in. If you rarely wear shirts, don’t give them prime real estate just because “that’s what you do.” Premium wardrobe space should go to clothes you use often or that need care (they wrinkle, get damaged if crushed).
Step 3: Divide each category into useful subcategories, not decorative ones
Subcategories are optional, but they can make a difference. Good rule: create subcategories only if they help you choose faster.
Practical examples:
- T-shirts: basics (white/black), printed, “loungewear.”
- Pants: jeans, office, casual.
- Dresses: casual, occasion.
- Activewear: gym, running (if you have specific gear).
If you have few pieces, don’t fragment them unnecessarily. One small, tight category is easier to maintain than five empty subcategories.
Step 4: Decide what folds and what stands vertical
For drawers and shelves, “vertical” folding (so you see the edge of each piece) helps you avoid unraveling the whole stack. It works great for t-shirts, pajamas, activewear, and thin sweaters.
Thick sweaters and bulky hoodies are a compromise zone. If you fold them vertically, they take up space and might “push” the drawer. If you stack them, you risk disturbing them. Middle ground: low stacks (max 5-6 pieces) or boxes/organizers that keep the stack in place.
Step 5: Put “now” at eye level, “rarely” above
The category method becomes even more effective when you combine it with how often you wear things. At eye level and arm’s reach goes your everyday category: favorite t-shirts, basic pants, the blouses you rotate.
On the top shelf: occasions, opposite season, pieces you wear rarely. This doesn’t mean completely hiding important items, but protecting your daily routine from “noise.”
Step 6: Create a small zone for “maintenance”
A wardrobe usually falls apart from small reasons: a fallen button, a blouse that “works as is,” a pair of pants needing hemming. If you don’t have a dedicated spot, they end up in the big pile.
Keep a small box or bag for “to repair” and set a realistic rule: once a month you handle what’s there or pass it on. If “to repair” exceeds 10 pieces, it’s already become storage, not maintenance.
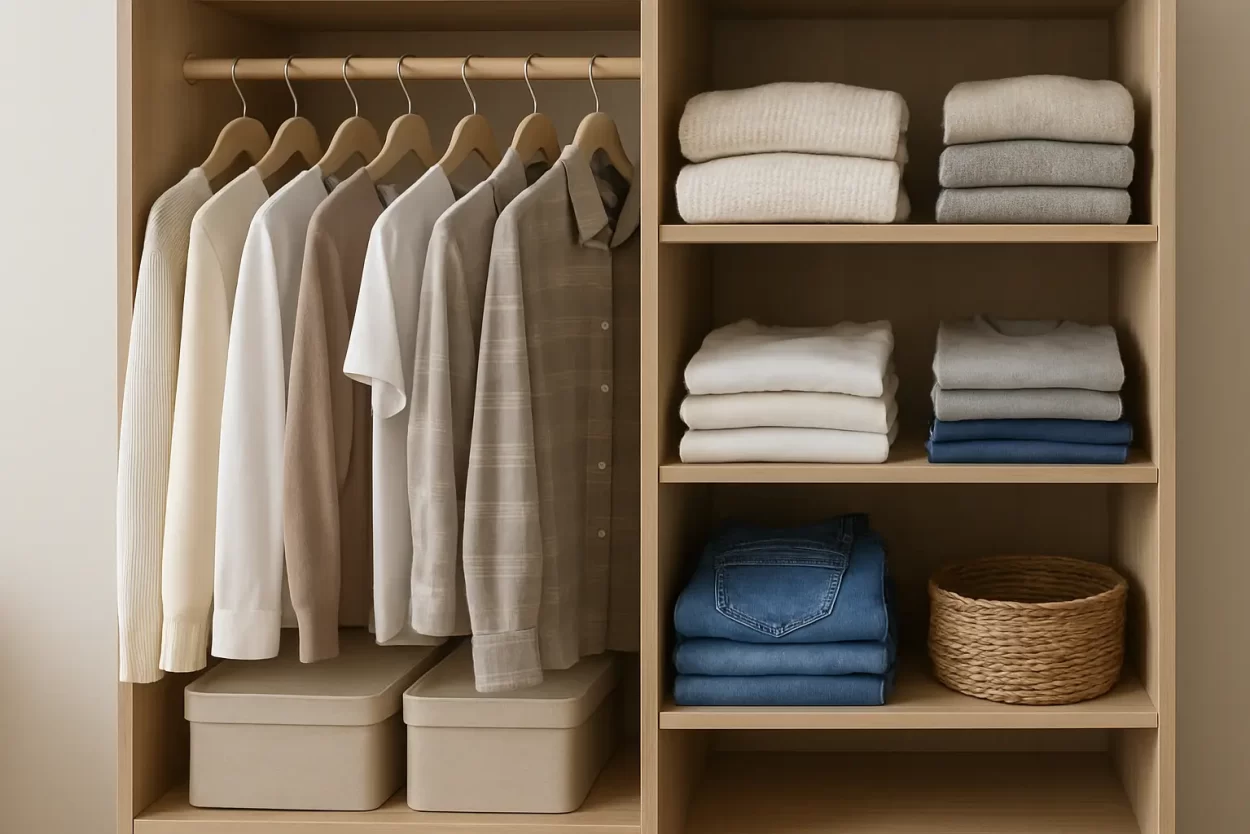
What a category-organized wardrobe looks like in real life (without perfection)
A functional wardrobe doesn’t look like a showroom. Some days are crowded, some clothes come back wrinkled from a long trip, and some pieces dry on hangers. The difference is that with clear categories, you know exactly where things go back.
When you get home, you don’t put “that blouse” on the first free shelf. You put it with blouses. When you do laundry, you don’t scatter things. You put t-shirts with t-shirts. The system becomes automatic, and that’s the point.
Common mistakes that break the category method
The most common mistake is organizing by aesthetics, not by use. Rainbow colors look nice, but if you mix t-shirts with shirts just because they’re “white,” you make your mornings harder.
The second mistake is keeping too many “maybes.” Maybe it’ll fit, maybe the style comes back, maybe I’ll lose weight. One “maybe” isn’t bad if it’s limited and in a clear zone. If it takes up daily space, it forces you to make an effort every morning.
The third mistake: too many organizers, too soon. Boxes are useful only after you’ve set categories and cut surplus. Otherwise, you’re just putting mess in boxes.
Easy maintenance: the 2-minute rule
You don’t need a “reorganization day” every month. You need a short routine, repeated.
Simple rule: 2-3 times a week, spend two minutes putting back 10-15 stray pieces. If you always feel chaos, it doesn’t mean you’re disorganized—it means your system is too complicated or categories are too mixed. Simplify: fewer subcategories, fewer stacks, easier access to what you wear.
If you want practical guides that cut down lost time around the house, find similar ideas on Muniom.com, in the Home & Garden section.
When to adjust your categories
The category method isn’t “set” forever. It changes with your job, the season, your style.
If you start going to the gym, the “activewear” category might move from a drawer corner to a main shelf. If you work more from home, “office” might become a small capsule, not half your wardrobe. If you have a young child, it’s useful to have a “easily soiled clothes” category more accessible, so you don’t constantly pull out delicate pieces.
A well-organized wardrobe doesn’t force you to live by it. It molds to your habits and makes room for them.
In the end, think of it this way: you’re not after a perfect wardrobe, but one that makes your mornings simpler and gives you that little sense of control, even on busy days.


Comments are closed.