
A beginner guide to gua sha with simple facial massage steps, tool tips, safety notes, and a routine for a calmer, refreshed-looking complexion in minutes.
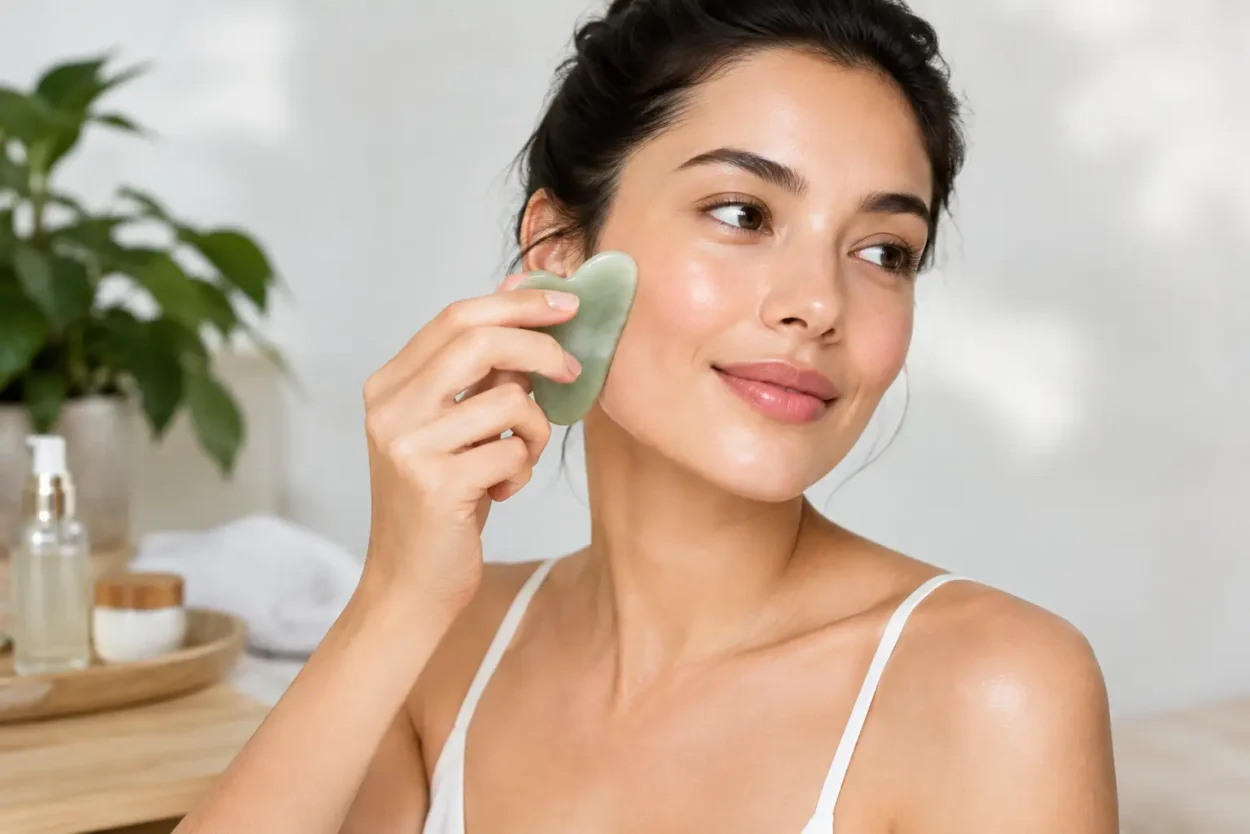
A Beginner Guide to Gua Sha for Glowing Skin
Your face can look noticeably more rested after a long flight, a salty dinner, or a short night of sleep, but that does not mean you need a complicated routine. This beginner guide to gua sha explains how to use the popular facial massage tool gently, safely, and realistically – with a few quiet minutes and plenty of slip.
Gua sha is rooted in traditional Chinese medicine, where it has been used in different forms on the body for centuries. The facial version most people know today uses a smooth, flat tool to massage the face and neck. It can feel soothing, help temporarily reduce the look of morning puffiness, and turn basic skincare into a more relaxing ritual. What it cannot do is permanently reshape your face, erase wrinkles, or replace professional treatment.
What Is Gua Sha and What Can It Do?
Most facial gua sha tools are made from stone, stainless steel, or resin and have curved edges designed to follow areas like the jawline, cheekbones, and brow bone. The material matters less than the shape, smoothness, and how comfortable it feels in your hand. A stainless steel tool is easy to clean and naturally cool. Stone tools, such as jade or rose quartz, have a classic look and may feel especially nice when chilled.
When used with light pressure, gua sha works like facial massage. It can encourage circulation at the skin’s surface and help move retained fluid, which is why your face may look a little less puffy afterward. The results are usually temporary, and that is perfectly fine. Think of it as a useful reset before makeup, an event, or bedtime – not a shortcut to a permanently sculpted face.
Consistency can make the ritual feel more rewarding, but more pressure is not better. Your goal is relaxed, comfortable skin, never redness, pain, or bruising.
What You Need Before You Start
Start with a clean face and a clean tool. The single most useful product for gua sha is a facial oil, serum, or moisturizer that gives the tool enough glide. Dry skin and a dry tool create dragging, which can feel irritating and make the experience less enjoyable.
Choose what fits your skin type. A lightweight facial oil can be comfortable for dry skin, while a hydrating serum followed by moisturizer may suit combination or oily skin. If you are acne-prone, use a product you already know your skin tolerates rather than buying a heavy new oil just for this step.
You can do gua sha after cleansing and applying a hydrating product, either in the morning or evening. Morning massage is ideal when puffiness is your main concern. At night, it can be a calming transition out of a busy day. Even two or three minutes is enough to make it feel worthwhile.
Beginner Guide to Gua Sha: The Basic Technique
Hold the tool at a very low angle, almost flat against your skin. If it is standing upright or digging in, lower it. Use one hand to lightly hold the skin near the area you are working on, then glide the tool outward with slow, gentle strokes.
Start at the neck and jaw
Begin near the base of the side of your neck and glide upward toward the jaw. Work on one side, then switch to the other. Avoid pressing into the center front of your neck. Next, place the curved notch of the tool around your chin and sweep along the jawline toward your ear.
Use light pressure here. You may feel tightness around the jaw after clenching, chewing gum, or spending a day at your laptop, but gua sha should not hurt. Let the tool skim over the skin rather than trying to force tension away.
Move across the cheeks
From the side of your nose, glide the tool across your cheek toward your ear. Then begin a little lower, beside the corner of your mouth, and sweep toward the middle of your ear. Repeat each path three to five times before changing sides.
The cheek area is where people often chase a dramatic contour. Keep expectations grounded: you may see a fresher, temporarily less puffy look, but bone structure and facial fat do not change from massage. A subtle result can still be a lovely one.
Use extra care around the eyes
The eye area needs the lightest touch. Use the smaller curved edge of the tool beneath the brow bone, moving outward toward the temple. For under-eyes, use only the weight of the tool and glide from the inner under-eye area outward.
Never tug at this delicate skin, and skip the area entirely if it feels sensitive. If you wake up with puffy eyes, a cool stainless steel tool can feel refreshing, but it is not necessary for results.
Finish at the forehead
Starting above the brows, glide upward toward your hairline. You can also work from the center of the forehead out toward the temples. These strokes are especially pleasant if you hold tension between your brows or get a tight feeling across your forehead during stressful weeks.
When you are done, wash the tool with warm water and gentle soap, then dry it fully. Do not share it with others, especially if anyone has an active skin condition.
How Much Pressure Should You Use?
For facial gua sha, gentle is the rule. Your skin might look slightly pink from increased circulation, but it should not become intensely red or sore. Bruising is a sign to stop, not proof that the massage worked.
A simple check: if the tool catches, your skin needs more product. If you are grimacing, your pressure is too firm. The best strokes are slow enough to feel intentional and light enough that you could comfortably repeat them every day.
Common Gua Sha Mistakes to Avoid
The most common mistake is using a gua sha tool on bare skin. Add more slip than you think you need, particularly around the cheeks and eyes. Another is moving too quickly. Short, rushed scraping motions can feel rough and miss the calming point of the practice.
Avoid copying dramatic before-and-after videos as your standard. Lighting, makeup, hydration, and camera angles can make a temporary change look much bigger than it is. Use your own comfort and the relaxed look of your skin as the measure of success.
It also helps to keep your routine simple at first. Use the same tool, the same skincare product, and the same five or six movements for a week. Once the motions feel natural, you can adjust the routine around the areas where you personally hold the most tension.
When to Skip Facial Gua Sha
Gua sha is not right for every skin day. Skip it over sunburn, open cuts, rashes, active cold sores, or irritated breakouts. If you have a rosacea flare, eczema flare, very reactive skin, or painful cystic acne, facial massage may make irritation worse.
Check with your dermatologist or treatment provider before using gua sha if you have recently had fillers, Botox, laser treatments, chemical peels, microneedling, facial surgery, or another cosmetic procedure. The timing depends on the treatment. People who bruise easily or take blood-thinning medication should also ask a medical professional before trying it.
Make Gua Sha a Routine You Will Actually Keep
The best gua sha routine is the one that fits into your real life. Keep the tool where you do your skincare, not tucked away in a drawer. Pair it with something you already do, such as applying your evening moisturizer or making coffee in the morning.
Try it two to four times a week before deciding whether it belongs in your routine. Some people enjoy a daily two-minute massage, while others prefer a longer session on Sunday night. Both approaches are valid. Let the practice be a small act of care, not another beauty task to perfect.