Learn how to start a raised garden with easy steps for choosing a sunny spot, building a bed, adding soil, and planting vegetables that thrive at home.
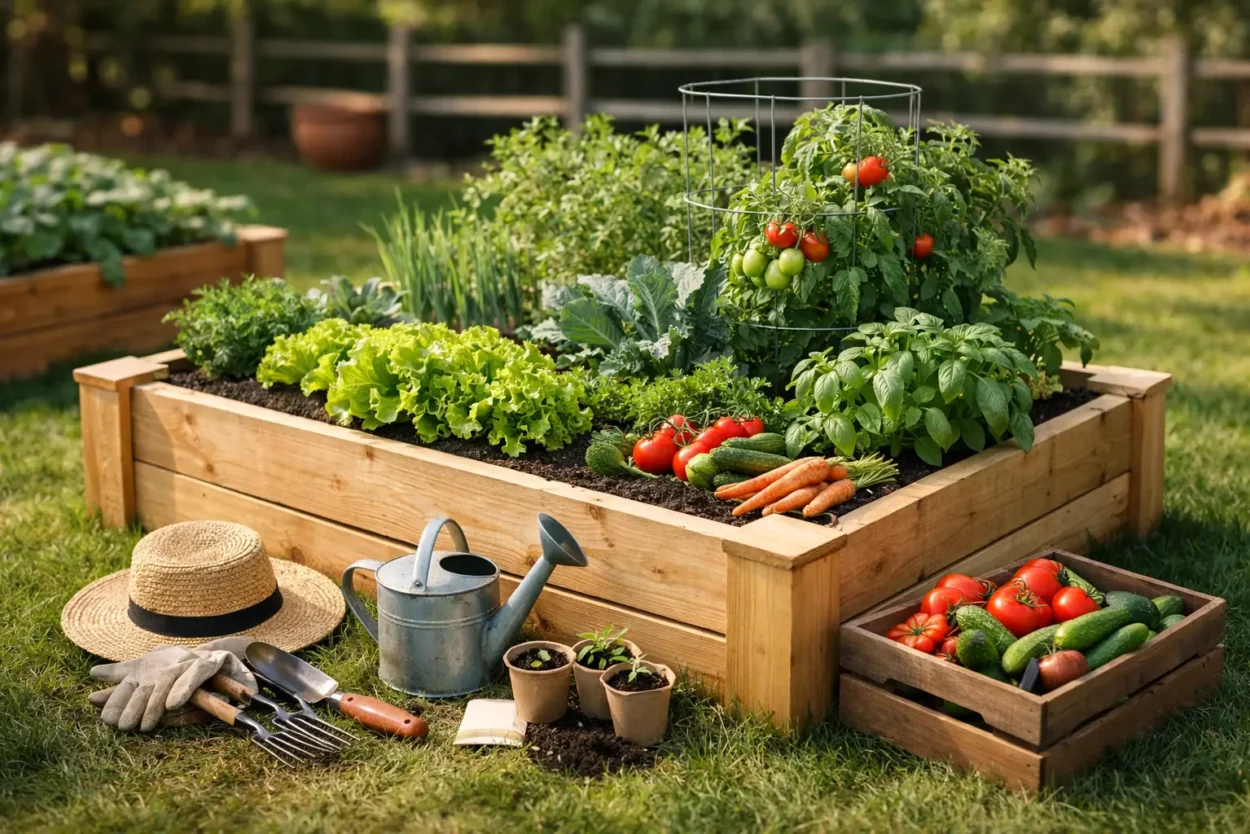
How to Start a Raised Garden in 8 Easy Steps
A raised garden can turn one sunny corner of a yard, patio, or driveway into a place that actually produces dinner. If you have been wondering how to start a raised garden, the good news is that you do not need a huge backyard or expert-level gardening skills. A simple bed, good soil, and a few well-chosen plants are enough to get growing.
Raised beds are especially beginner-friendly because you control the soil quality, keep weeds more manageable, and avoid the backbreaking work of digging up a whole lawn. Start small, give the garden regular attention, and you may be surprised by how quickly it becomes part of your routine.
How to Start a Raised Garden: Choose the Right Spot
Before buying lumber or soil, look at the sunlight in your outdoor space. Most vegetables, including tomatoes, peppers, cucumbers, beans, and herbs, need at least six to eight hours of direct sun each day. A spot that gets morning through early afternoon sun is usually a great choice.
Leafy greens such as lettuce, spinach, kale, and arugula can handle a little more shade, especially in hot climates. If your yard is mostly shaded, do not force sun-loving vegetables to work there. A smaller bed of greens and herbs will be more rewarding than struggling tomato plants.
Place the bed somewhere convenient, ideally close to a hose or outdoor water source. A garden tucked into the farthest edge of the yard may look charming, but it is easier to forget when watering takes an extra trip. Also avoid low areas where rainwater collects and spots near large trees, whose roots can compete with vegetables for moisture and nutrients.
Pick a Beginner-Friendly Bed Size
For a first raised garden, keep the dimensions practical. A 4-by-4-foot bed is a popular choice because you can reach the center from every side without stepping on the soil. A 4-by-8-foot bed gives you more growing room, but it also requires more soil, plants, and maintenance.
Aim for a depth of 10 to 12 inches if possible. That depth gives vegetable roots enough loose soil to grow while still keeping the project affordable. Shallower beds can work for herbs and salad greens, but root crops and larger plants generally do better with more room.
You can buy a ready-made kit, build a frame from untreated cedar boards, or use a metal raised-bed kit. Cedar costs more than basic lumber but naturally resists rot. Metal beds offer a clean, modern look and can last for years, though they may warm up quickly in very hot, sunny locations. Avoid using old railroad ties or wood that may have been treated with chemicals.
Prepare the Ground Under Your Bed
You do not have to remove every blade of grass before setting up a raised bed. Instead, mow the area short and lay down plain, uncoated cardboard over the grass or weeds. Overlap the edges so light cannot reach through the gaps, then place the bed frame on top.
The cardboard will gradually break down and help smother weeds below. Remove tape, glossy labels, and plastic packaging before using it. Landscape fabric is another option, but cardboard is often simpler and lets water move naturally through the soil.
If you are placing a bed on concrete or a patio, make sure it has open drainage at the bottom. A raised bed should not function like a sealed planter. Excess water needs a way to escape, or plant roots can rot after heavy rain or frequent watering.
Fill It With Soil That Plants Can Use
Soil is where a raised garden earns its reputation. Unlike native ground soil, which may be dense, sandy, or full of clay, a raised bed gives you a fresh growing mix from the start.
Look for a bagged raised-bed mix, or blend quality topsoil with compost. A practical mix is roughly two parts topsoil to one part compost. The topsoil provides structure, while compost adds nutrients and helps the bed hold moisture without becoming soggy.
Do not fill the entire bed with potting soil. It is light and useful in containers, but it can be unnecessarily expensive for a large raised bed and may dry out quickly. Likewise, skip the temptation to fill most of a shallow bed with rocks. Rocks reduce the soil depth available to roots and do not improve drainage the way many gardeners expect.
Leave an inch or two of space below the top edge of the bed. This makes watering easier and creates room for mulch later. Once the soil is in place, water it thoroughly and let it settle before planting. You may need to add a little more mix after the first soaking.
Start With Vegetables You Will Actually Eat
The most beautiful raised garden is still not useful if it is filled with produce no one wants to cook. Choose a few crops your household already enjoys, then match them to the season.
In spring and fall, try lettuce, spinach, radishes, peas, kale, and broccoli. In warm summer weather, tomatoes, bush beans, zucchini, cucumbers, basil, and peppers are reliable favorites. Herbs such as parsley, chives, thyme, and basil are especially satisfying for beginners because you can harvest a little at a time.
For your first bed, resist planting every seed packet that catches your eye. Tomatoes, zucchini, and cucumbers can take up far more space than expected. One tomato plant, one zucchini plant, a few herbs, and a row of lettuce can be plenty for a 4-by-4-foot bed.
Check plant labels for spacing, even if the seedlings look small on planting day. Crowded plants compete for light and airflow, which can lead to weaker growth and more disease. A garden can look slightly empty at first and still become full very quickly.
Plant at the Right Time for Your Area
Timing matters as much as sunlight. Warm-weather crops should go outside only after your area is past its expected last frost date and nighttime temperatures are consistently mild. Tomatoes and basil, for example, do not enjoy cold soil.
Cool-season crops are different. Lettuce, peas, and radishes can often be planted earlier in spring and again toward the end of summer for a fall harvest. If you are unsure what works in your area, look at the plant tag for the best planting window or ask a local garden center what people are planting that week.
Seeds are budget-friendly and offer lots of variety, but seedlings give beginners a head start. A mix of both works well: sow quick-growing radish or lettuce seeds directly in the bed, then add a few healthy tomato or pepper seedlings.
Water Deeply and Add Mulch
Newly planted vegetables need consistent moisture while their roots settle in. Water slowly at the base of each plant so the moisture reaches below the surface instead of running off. Early morning is an ideal time because leaves have time to dry, which can help reduce fungal problems.
How often you water depends on weather, soil, plant size, and the type of bed you use. During a heat wave, a raised bed may need water every day. In cooler or rainy weather, it may need very little. Stick a finger about an inch into the soil: if it feels dry, it is time to water.
After plants are established, spread a thin layer of untreated straw, shredded leaves, or other natural mulch around them. Mulch helps keep moisture in the soil, blocks emerging weeds, and prevents soil from splashing onto leaves during rain.
Keep the First Season Simple
A raised garden does not need constant fussing, but a quick check a few times each week makes a big difference. Look for dry soil, yellowing leaves, insect damage, or plants that need support. Tomatoes and peas may need stakes, cages, or trellises before they get tall and floppy.
Harvest often, especially lettuce, beans, herbs, zucchini, and cucumbers. Regular picking encourages many plants to keep producing. Pull weeds while they are small, and add compost or a vegetable fertilizer later in the season if plants begin to look pale or slow down.
Expect a few imperfect leaves and the occasional chewed tomato. Gardening is not about producing a flawless display. It is about learning what grows well in your space and enjoying the small win of bringing something fresh into the kitchen.
Start with one bed, a short list of plants, and a sunny spot you pass every day. Your first raised garden does not have to be perfect to become one of the most satisfying parts of home.